Using AI to generate backgrounds is a huge time-saver. Let’s be honest, creating a complex scene, a perfect texture, or an abstract mood board from scratch can take hours. AI tools can now give us dozens of options in minutes. But here’s the problem: designers and graphic artists are worried. We see our feeds filling up with images that have that same, generic “AI look.” The fear is real. We don’t want to just be “prompt operators.” We want to be artists. Our originality, our unique style, and our creative intent are what make us valuable.
The good news is that you don’t have to choose between automation and control. The real skill for designers today is learning how to direct the AI, not just accept what it gives you. It’s about shifting your mindset from using an autopilot to working with a high-speed co-pilot. This guide will break down the practical ways you can use AI to generate backgrounds while keeping your artistic originality front and center.
Hello, I’m John Michael. For years, I’ve been exploring and writing about the intersection of AI and human creativity. I’m driven by a deep curiosity about how these new tools work, not just technically, but how they change our creative process. Having worked in the digital design and content space for about five years, I’ve seen tools evolve at a dizzying speed. My goal here is to share what I’ve learned about balancing these powerful new technologies with the timeless need for human creativity. I’m not a “certified expert,” but I am a passionate researcher and writer focused on sharing clear explanations that help artists like you stay in control.
The Core Challenge: Why Designers Fear Losing Control
Before we get to the “how-to,” let’s break down the main fear. Why do so many talented artists feel like AI is a threat to their originality?
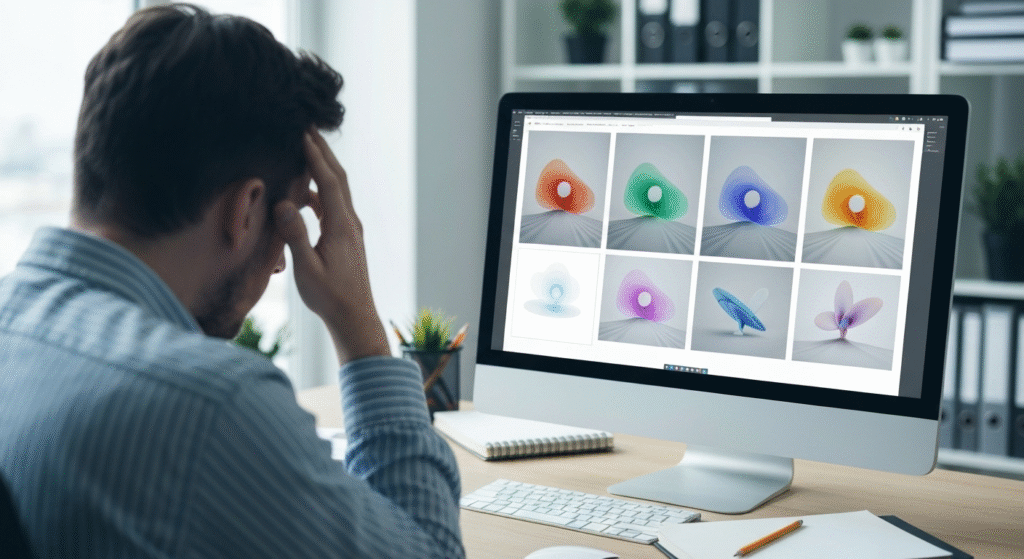
- The “AI Look”: Many AI models have a default style. It’s often glossy, hyper-detailed, and just a little too perfect. When everyone uses the same tool with basic prompts, everything starts to look the same. This dilutes your unique visual voice.
- The Fear of “Prompt-Only” Design: As a designer, your skill is in composition, color theory, texture, and visual storytelling. If your only job becomes writing a text description and clicking “generate,” it can feel like you’ve been demoted from an artist to an operator.
- Brand Identity Erosion: You’ve spent years developing a specific visual style for your brand or your clients. How do you get an AI to create a background that perfectly matches that specific shade of blue, that exact brush-stroke texture, or that minimalist aesthetic? A generic “forest” background won’t work for a brand that uses bold, flat vector shapes.
The solution isn’t to avoid AI. The solution is to get your hands dirty and learn to steer the tool with precision.
Shifting Your Mindset: From Autopilot to Co-Pilot
The most important step is to stop thinking of AI as a magic button. Think of it as the most powerful, and fastest, creative intern you’ve ever had. It’s brilliant at generating ideas and doing heavy lifting, but it has no taste or vision. You provide the vision. You provide the taste and creative direction.
In my work, I’ve found the most success when I stop trying to get the final image from the AI. Instead, I use it for iteration and assets.
- Use AI for “Creative Sketching”: Stuck for an idea? Instead of spending an hour browsing Pinterest, spend ten minutes with an AI tool. Prompt it for “moody cityscape at night, neo-noir,” “minimalist scandinavian interior with one red chair,” and “gritty abstract texture, cracked paint.” In seconds, you’ll have visual starting points that can spark a dozen new ideas.
- Generate Raw Elements, Not Finished Pieces: This is a key technique. Don’t ask the AI for a “finished poster.” Ask it for the parts you need. “Generate a seamless, high-resolution texture of rough concrete.” “Generate a photorealistic cloud formation, isolated on black.” “Generate a 1960s-style psychedelic floral pattern.” You then take these assets into Photoshop or Illustrator and compose them yourself.
- Embrace the “Happy Accident”: Sometimes, the AI will completely misunderstand your prompt and create something weird. Don’t delete it! This is often where true originality comes from. That “mistake” might be a color combination you never would have tried or a composition that breaks the rules in an interesting way.
Practical Techniques for Directing Your AI Tool
This is where you take back control. Modern AI tools have powerful features far beyond a simple text box. You just have to know where to find them and how to use them.
Mastering the Art of the Prompt (It’s More Than Just Words)
A basic prompt gives you a basic image. A designer’s prompt is specific and layered. It controls the subject, style, lighting, and composition.
- Be a Style Director: Don’t just say “a forest.” Say, “A minimalist vector art forest, flat design, #2D, muted color palette of sage green and beige.”
- Control the “Camera”: Use photographic terms. “Wide-angle shot,” “macro detail,” “depth of field, blurry foreground,” “dramatic cinematic lighting,” “soft diffused light from a window.”
- Use Artist and Style Keywords: “In the style of a 19th-century botanical illustration,” “bauhaus-inspired geometric pattern,” “heavy grit and grain, screenprint texture.”
- Use Negative Prompts: This is one of the most powerful tools. Tell the AI what you don’t want. Add a negative prompt like:
blurry, 3D render, glossy, plastic, oversaturated, text, watermark, ugly. This instantly cleans up your results.
Here’s a look at how to level-up your prompts:
| Basic Prompt (The “Autopilot”) | Advanced Prompt (The “Co-Pilot”) |
| “A city street” | “A wet cobblestone street in Paris, golden hour, soft warm light, reflections in puddles, depth of field, 50mm lens, photorealistic.” |
| “Abstract background” | “Abstract background, macro shot of cracked desert earth, heavy texture, colors of teal and terracotta, minimalist composition, negative space.” |
| “Flower pattern” | “Seamless pattern, 1970s retro floral design, bold orange and brown, flat 2D vector style, negative prompt: 3D, shadows, realistic“ |
The Power of “Image-to-Image” (Img2Img) and Sketching
This is where you stop being a writer and start being an artist again. Instead of just giving the AI text, you give it one of your own images as a starting point.
Here’s a workflow I use all the time:
- Create a 30-Second Doodle: Open a simple drawing app. Spend 30 seconds (no more!) creating a basic compositional sketch. It can be ugly. All you need are the main shapes. A horizontal line for the horizon, a big blob for a mountain, a small blob for a tree.
- Upload Your Sketch: Upload this doodle to the AI tool using its “Image-to-Image” or “Image Prompt” feature.
- Add Your Text Prompt: Now, add your text prompt: “A beautiful photorealistic mountain landscape, misty morning, pine trees, detailed.”
- Adjust the “Strength”: The AI will have a “strength” or “guidance” slider. This tells it how much to listen to your sketch versus your text. A high strength (e.g., 0.8) will stick very close to your sketch’s composition. A low strength (e.g., 0.3) will use it as loose inspiration.
You are no longer a passive operator. You are now an art director, giving the AI a specific layout to follow. Your originality is baked in from the very first step. You can also upload a color palette or a mood board image to guide the AI’s color choices.
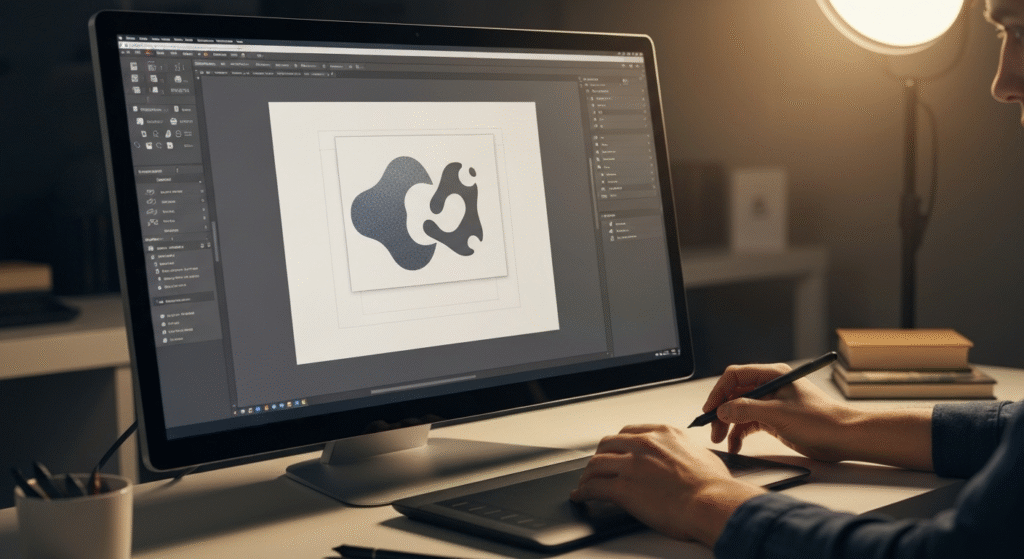
ControlNets, Masks, and Inpainting: The Designer’s Precision Toolkit
This is the most advanced—and most powerful—way to maintain 100% control. These tools may have different names (like “Generative Fill” in Photoshop), but the concepts are similar.
- Inpainting (Masking): Generate a background and love 90% of it, but hate one ugly tree in the corner? Don’t re-roll the whole image. Use the “Inpaint” or “Mask” tool, paint over the ugly tree, and type a new prompt: “a small rock” or even just “remove.” The AI will regenerate only the masked area, leaving the rest of your image untouched.
- Outpainting (Expanding): Have an image you love, but it’s the wrong aspect ratio? Outpainting (like Photoshop’s “Generative Expand”) lets you expand the canvas. The AI then intelligently fills in the new, blank areas, matching the style of the original.
- ControlNets (The Ultimate Control): This is a feature (popular with Stable Diffusion) that forces the AI to follow a specific “map.” You can upload a reference image and tell the AI to only copy its composition (Canny or Scribble), its depth (Depth Map), or its human poses (OpenPose). This lets you find a photo with a composition you love, extract its “edge map,” and then prompt the AI to create a completely new image (e.g., “a sci-fi city”) that perfectly follows that original composition.
The Hybrid Workflow: Blending AI with Photoshop and Illustrator
The biggest secret of professional designers using AI is this: the AI-generated image is never the final product. It’s just one layer in a larger document.
This is how you truly create original work. You blend the speed of AI with the precision of your existing tools.
Step 1: Generate Raw Assets with AI
Your goal in the AI tool is to create a “kit” of parts. You’re not making a final image; you’re gathering supplies.
- Generate a background texture (e.g., “seamless paper texture”).
- Generate a key element (e.g., “a single realistic monarch butterfly, side view”).
- Generate a lighting effect (e.g., “a soft blue light flare, isolated on black”).
Step 2: Refine and Compose in Photoshop or Illustrator
Now, open your preferred design software and import your assets.
- Place the background texture on the bottom layer.
- Use a layer mask to blend it.
- Use a Hue/Saturation adjustment layer to force it to match your brand’s color palette.
- Place the butterfly element on a new layer.
- Add your own vector shapes or typography from Illustrator on top.
Step 3: Color Grading and Final Polish
This is the step that unifies everything. The AI-generated elements might have slightly different lighting or color casts.
- Use a “Color Lookup” or “Gradient Map” adjustment layer over all your layers (AI and non-AI) to give the entire piece a single, cohesive color grade.
- Add a final noise or grain layer on top to blend everything and remove that “digital-looking” AI smoothness.
The final product doesn’t look like an “AI image.” It looks like your image, because you directed the composition, added your own elements, and controlled the final color and texture.
Common Pitfalls and How to Avoid Them
As you work, you’ll run into common issues. Here’s a quick troubleshooting guide.
| Pitfall (The Problem) | Solution (The Fix) |
| “My images look generic and plastic.” | Your prompts are too simple. Add specific texture and lighting keywords like “gritty,” “film grain,” “matte finish,” “soft natural light.” Avoid “4K, hyperrealistic” which often causes that glossy look. |
| “The AI ignores my composition.” | Don’t rely on text-only prompts. Use Image-to-Image with a rough sketch or a ControlNet (like Canny or Scribble) to force the AI to follow your exact layout. |
| “I’m wasting hours re-rolling.” | Stop trying to get a perfect image in one shot. Generate a “good enough” image, then take it into Photoshop and use Inpainting (Generative Fill) to fix the small areas you don’t like. |
| “It doesn’t match my personal style.” | Use the Hybrid Workflow. Feed the AI your own artwork or mood boards as image prompts. Then, use the AI-generated images as layers in your main project, not the final piece. Your style comes from your composition, color grading, and element choice. |
Frequently Asked Questions (FAQs)
Will AI replace graphic designers?
No. AI is a tool, like Photoshop or a pencil. It will replace designers who refuse to learn new tools. Designers who master AI will be faster, more creative, and more valuable. AI is great at generating options, but it has no taste, strategy, or understanding of a client’s brief. That’s your job.
Is using AI for backgrounds considered “cheating”?
No. Is using Photoshop’s “Content-Aware Fill” cheating? Is using a stock photo cheating? Is using a pre-made font cheating? Every new technology faces this question. AI is a tool for automation. Using it to do the heavy lifting (like rendering a complex background) frees you up to focus on the more important creative parts: the concept, composition, and message.
How can I make an AI background match my brand’s color palette?
Don’t try to get the perfect colors from the AI. It’s too difficult. Instead, generate the image you want, bring it into Photoshop, and use an adjustment layer. A “Gradient Map” or “Selective Color” layer can quickly and precisely change the image’s colors to match your brand’s hex codes.
What’s the fastest way to get a usable background from AI?
Use an image-to-image prompt. Find a photo that has the composition you like, upload it, and set the “strength” to medium (around 0.5-0.7). Then, write a text prompt to change the style (e.g., “A minimalist vector landscape”). This is much faster than trying to describe a complex composition with words alone.
Conclusion: Your Creativity is the Director
AI is not an enemy to originality. It’s a powerful partner, but only if you take the role of director. The fear of creating “generic” art is only a risk if you let the AI make all the decisions.
By mastering advanced prompts, using your own sketches with image-to-image, and integrating AI-generated assets into your trusted Photoshop or Illustrator workflow, you keep your hands firmly on the wheel. You’re not just an operator; you’re an artist using a new, powerful brush. Your artistic control, your creative intent, and your unique style are the human elements that AI can never replicate. Your job is to guide the tool, not the other way around.